


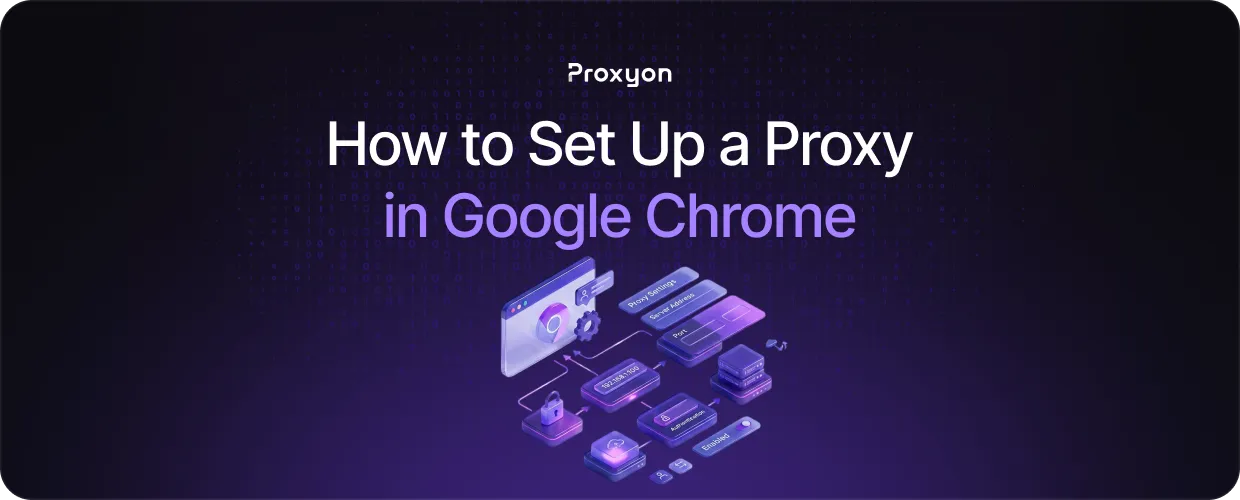
Chrome does not have a built-in proxy settings page, so configuring one requires going through your system's network settings or using an extension. Either way, once it is set up, all your browser traffic routes through the proxy automatically. This is useful for accessing geo-restricted content, masking your IP, or routing requests through a residential proxy for scraping and research.
In this article, we'll explore how to set up a proxy in Google Chrome step by step.
How to Set Up a Proxy in Chrome
Chrome routes proxy traffic through your operating system's network settings, so you are not configuring Chrome directly.
On Windows, open Settings, go to Network & Internet, then click Proxy. Under Manual proxy setup, toggle it on, enter your proxy IP and port, and save.
On Mac, open System Settings, go to Network, select your active connection, and click Details. Open the Proxies tab, enable the proxy type you are using, enter the IP and port, and hit OK.
On Linux, open Settings, navigate to Network, and click the gear icon next to your connection. Under the Proxy tab, switch to Manual, fill in your proxy details, and apply.
If your proxy requires authentication, Chrome will prompt you for a username and password the first time it connects.
Also Read: How to Use a Proxy Server on Any Device
How to Set Up a Proxy in Chrome Using an Extension
If you need to switch proxies frequently or keep your system settings untouched, an extension is the easier route. FoxyProxy is the most widely used option and works well with residential proxies like Proxyon.
Install FoxyProxy from the Chrome Web Store, then open its settings and add a new proxy. Enter your proxy host, port, username, and password. If you are using Proxyon, these details are available in your dashboard. Save the proxy, enable FoxyProxy from the toolbar, and select the proxy you added.
The main advantage is flexibility. You can store multiple proxies, switch between them in one click, and set URL patterns so only specific sites route through the proxy.
How to Test and Troubleshoot Your Proxy Connection
Once your proxy is set up, visit ipinfo.io to confirm your IP has changed. If it still shows your real IP, the proxy is not active or was entered incorrectly.
The most common issues are a wrong port, a typo in the host address, or missing authentication credentials. Go back to your settings or extension and double-check every field. If your provider gives you multiple endpoint options, try a different one.
If the IP changed but certain sites are still blocked, the proxy type may not be the right fit. A datacenter proxy is easier to detect than a residential one. You can also use Proxyon's tools to verify your connection directly.
Also Read: Node.js Proxy Setup
Final Thoughts
Setting up a proxy in Chrome is straightforward through system settings or an extension. Always verify the connection at ipinfo.io after setup. For reliable residential proxies, Proxyon starts at $1.75/GB with no subscription required.